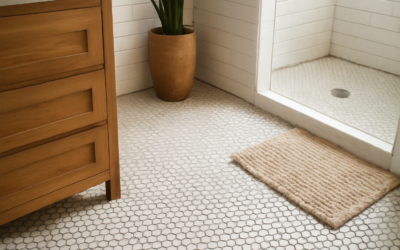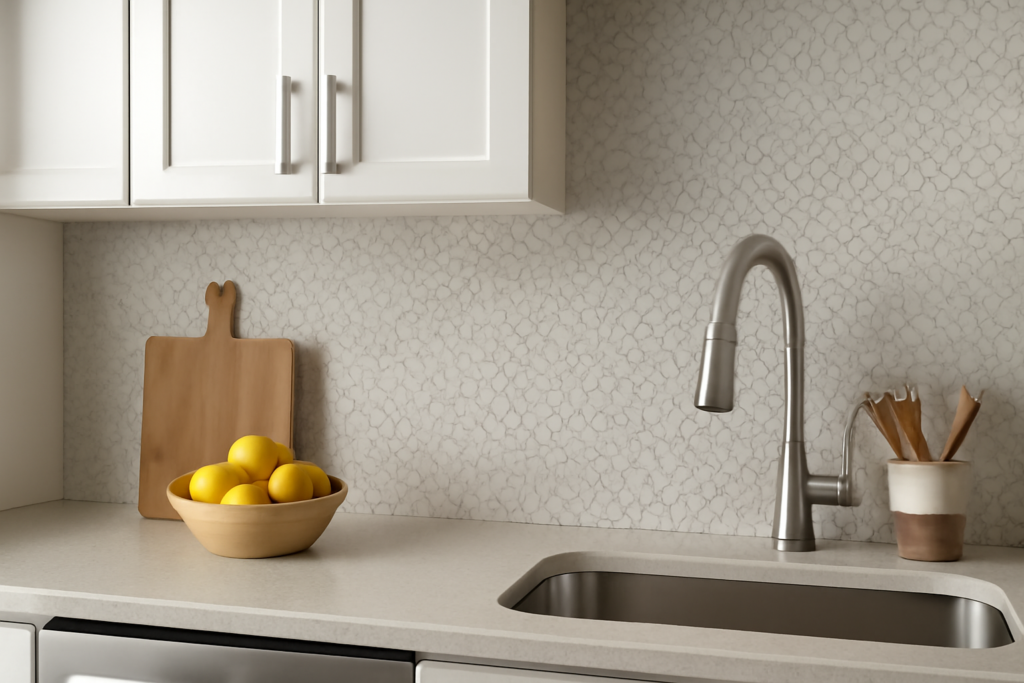
A penny tile backsplash brings vintage charm and modern texture to a kitchen or bathroom in a way few other tiles can match. Named for the small, round, coin-sized pieces that make it up, this style has been a fixture in American homes since the early 1900s and has returned to popularity for good reason. This guide covers materials, costs, grout decisions, and the installation steps that separate a crisp result from an amateur one.
Part of our Kitchen Remodeling guide — explore the full guide →
What Penny Tile Is
Penny tile consists of small circular tiles, traditionally about 3/4 inch to 1 inch in diameter, mounted on mesh-backed sheets roughly 12 by 12 inches. The mesh backing keeps the spacing consistent and lets you install dozens of tiny tiles at once instead of placing each by hand. You will find them in porcelain, ceramic, glass, natural stone like marble, and even metal-finished options.
The round shape leaves more grout joints than square or rectangular tile, which is part of the look. Those joints create a fine, dotted grid that adds visual texture and grip, which is one reason penny tile has long been used on bathroom floors as well as walls. For a backsplash, the goal is purely aesthetic, but that same texture catches light beautifully behind a stove or sink.
Choosing a Material
Material affects both price and performance. Here is how the common options compare:
- Porcelain: The most durable and water-resistant choice, ideal for a kitchen backsplash exposed to grease and steam. Easy to clean and rarely needs sealing.
- Ceramic: Slightly softer and more affordable than porcelain, perfectly fine for a low-impact wall application.
- Glass: Reflective and bright, great for adding light, though it shows water spots and requires careful grout selection.
- Marble or natural stone: Elegant and high-end, but porous, so it must be sealed before and after grouting to resist staining.
For most kitchens, porcelain penny tile gives the best balance of looks, durability, and easy maintenance.
What a Penny Tile Backsplash Costs
Material prices typically run between $8 and $25 per square foot, with porcelain on the lower end and marble or specialty glass at the top. A standard kitchen backsplash covers roughly 30 square feet, so expect $250 to $750 in tile for the average job, plus thinset, grout, and sealer.
Professional installation usually adds $10 to $20 per square foot in labor, partly because the small format and round shape take more time to set and grout cleanly. A full professional backsplash often lands between $700 and $1,500. Doing it yourself can cut that nearly in half, but budget extra time and a few practice sheets if you have never tiled before.
Tools and Materials You Will Need
Before you start, gather everything so you are not running to the store mid-job:
- Penny tile sheets (buy 10 percent extra for cuts and breakage)
- White or appropriate-color thinset mortar, or premixed mastic for small dry areas
- Notched trowel, typically 3/16 inch V-notch for small tile
- Unsanded grout (the narrow joints call for unsanded)
- Grout float, sponges, and two buckets
- Tile nippers or a wet saw for edges and outlets
- Level, tape measure, and painter’s tape
- Sealer if using natural stone
Step-by-Step Installation
Start with a clean, dry, and flat wall. Remove outlet covers and turn off power at the breaker for any receptacles in the work zone. Dry-lay a few sheets along the counter to plan your layout and find the center, so any cut tiles end up at the edges where they are less noticeable.
- Spread thinset on a small section of wall with the flat side of the trowel, then comb it with the notched edge. Work in areas you can tile within 15 to 20 minutes before the mortar skins over.
- Press each mesh sheet firmly into the thinset, using a grout float or a flat board to seat the tiles evenly so none sit proud of the surface.
- Align the gaps between sheets so the round spacing stays consistent. Mismatched seams are the most common rookie mistake, so check each junction closely.
- Cut tiles around outlets and edges using nippers for small adjustments or a wet saw for clean straight cuts.
- Let the thinset cure fully, usually 24 hours, before grouting.
When you grout, work unsanded grout diagonally across the tiles with the float, packing every joint. Wait until the grout hazes, then wipe gently with a damp sponge, rinsing often. Because penny tile has so many joints, plan on extra cleaning passes. Buff off the final haze with a dry cloth once it dries.
Grout Color and Final Details
Grout color dramatically changes the look. White or light gray grout creates a soft, classic field where the tiles blend together. Dark charcoal or black grout makes each penny pop and emphasizes the dotted pattern, a striking modern choice. Pick your grout against a dry sample sheet before committing, since it is difficult to change later.
Keep in mind that lighter grout shows dirt faster in a working kitchen, where grease and food splatter land daily. Many homeowners split the difference with a warm gray, which hides grime while still letting the tile shape read clearly. If you love the bright-white look, choose a stain-resistant epoxy grout instead of standard cement grout, since epoxy resists staining far better in a cooking zone. It costs more and is harder to work with, so weigh the trade-off before deciding.
Once everything cures, apply a grout sealer after 48 to 72 hours to resist stains and moisture, and reseal natural stone tile as the manufacturer directs. A quality silicone caulk, color-matched to your grout, should fill the joint where the backsplash meets the countertop. That flexible seam handles the slight movement between surfaces that rigid grout cannot.
Maintenance and Longevity
A finished penny tile backsplash is easy to live with. Wipe it down with a soft cloth and a pH-neutral cleaner, avoiding harsh abrasives that can dull the surface or erode grout. Skip vinegar on natural stone, which can etch the finish. Reseal grout once a year in a busy kitchen to keep it stain-resistant.
Done well, a penny tile backsplash can last decades, since the original tile from century-old homes often survives intact. Take your time with layout and grouting, and you will end up with a surface that looks intentional, holds up to daily cooking, and adds lasting character to the room.
Prefer to explore on your own?
See how new flooring looks in your actual room in seconds — free, no signup.
Try the free Floor Studio →