
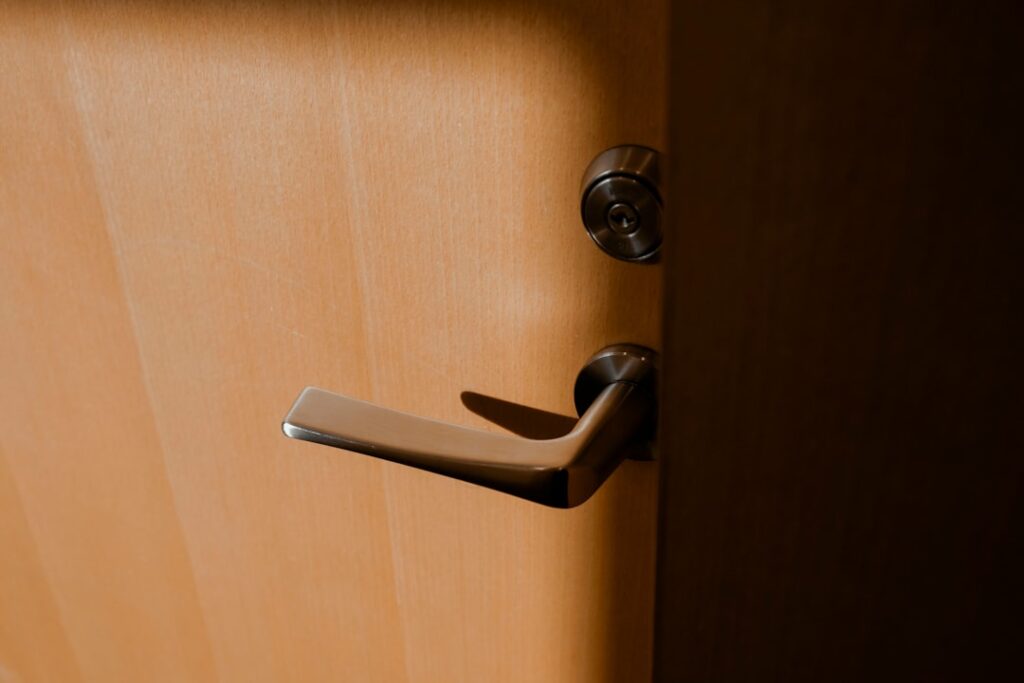
The handle is the part of a storm door that takes the most abuse, and it is almost always the first component to fail. Storm door handles get slammed, yanked, and baked in the sun hundreds of times a week, so a cracked lever or a latch that no longer catches is one of the most common storm door repairs homeowners face. The good news is that replacing a handle set is a genuine 30-minute job that rarely costs more than $40.
Part of our Windows & Doors guide — explore the full guide →
Where people go wrong is buying the wrong handle for their door. Storm doors are not standardized the way entry doors are, so matching the mounting hole spacing and latch style matters more than the brand name on the box.
- How Storm Door Handles Differ From Entry Door Handles
- Common Types of Storm Door Handles
- Measuring for a Replacement
- Replacing a Storm Door Handle Step by Step
- Matching Finish and Style
- Troubleshooting a Handle That Will Not Latch
- Cost and When to Call a Pro
- Adding a Keyed Lock for Security
- Caring for the Handle and Closer Together
- Choosing Between Repair and Upgrade
- Handling a Universal Replacement Set
How Storm Door Handles Differ From Entry Door Handles
Unlike a solid entry door, a storm door is thin, usually around 1 inch to 1-1/4 inches thick, and the handle mechanism is built to match. Storm door handles typically use a surface-mounted or mortise-style set with a lever or push-button on the outside and a matching lever inside, connected through the narrow stile of the door.
Because the door is aluminum or thin composite, the internal latch is lighter duty than a residential deadbolt. Many storm door handle sets include a keyed lock for basic security, but treat that lock as a convenience, not a real barrier. The main door behind it is your actual security layer.
Common Types of Storm Door Handles
Before you shop, identify which style your door uses. The four common configurations are:
- Lever handle sets: The most popular modern style, with a paddle or lever you press down. Comfortable and easy for kids and older adults.
- Traditional mortise sets: A thumb-latch on top with a pull grip below, common on classic and colonial-style doors.
- Surface-mounted sets: Bolt directly onto the face of the door, easiest to retrofit because they hide old holes.
- Push-button sets: A button on the exterior grip releases the latch, an economical builder-grade option.
Andersen, Larson, and Wright Products are the three names you will encounter most often. Wright Products makes a large share of the aftermarket replacement handles sold at home centers, and their sets fit a wide range of doors.
Measuring for a Replacement
The single most important measurement is the mounting hole spacing, the vertical distance between the two screw holes that hold the handle to the door. Most storm door handles use one of a few standard spacings, commonly around 3-3/8 inches or 5-1/2 inches center to center. Measure yours before buying.
Also note the bore spacing between the handle holes and the latch or lock cylinder, and confirm the latch style matches, whether it is a hook, a plunger, or a spring latch. Snap a photo of the old handle next to a tape measure and bring it to the store. A universal replacement set will list the spacings it fits right on the package.
Replacing a Storm Door Handle Step by Step
You need only a Phillips screwdriver and about half an hour. Work through it methodically:
- Open the door and prop it so it cannot swing. Locate the two screws on the interior handle plate.
- Remove both screws and pull the interior and exterior halves apart. The spindle that connects them will slide out.
- Unscrew and remove the old latch or strike mechanism from the edge of the door.
- Install the new latch first, then insert the new exterior handle so its spindle passes through the door.
- Align the interior handle, thread the connecting screws, and tighten evenly so the handle sits flush and square.
- Test the latch several times and adjust the strike plate on the frame until the door catches cleanly.
If the new lever feels stiff, the strike plate is slightly misaligned. Loosen its screws, nudge it a sixteenth of an inch, and retighten.
Matching Finish and Style
Handles come in finishes designed to coordinate with your entry door hardware, from oil-rubbed bronze to satin nickel, white, and black. Pick a finish that matches your front door lockset for a pulled-together look, since the two sit inches apart. Powder-coated finishes hold up better than plated ones against constant sun and rain, so on a south- or west-facing door, spend the extra few dollars on a quality coated handle.
Troubleshooting a Handle That Will Not Latch
When an existing handle stops working, the problem is usually alignment rather than the handle itself. Over time, screws loosen and the door sags slightly on its hinges, throwing off the latch. Try these fixes in order:
- Tighten every screw on both handle plates and the hinge side of the door.
- Adjust the strike plate on the door frame up, down, or sideways to meet the latch.
- Check the closer bracket, since a worn pneumatic closer can hold the door slightly ajar so the latch never fully engages.
- Lubricate the latch mechanism with a dry PTFE spray, never oil, which attracts grit.
Cost and When to Call a Pro
A replacement handle set from Wright Products or a comparable brand runs $20 to $40 at any home center. A matching keyed deadbolt for a storm door adds another $15 to $25. This is squarely a DIY job for most homeowners, and paying a handyman $80 to $120 for the visit rarely makes sense unless the door frame is also damaged.
Adding a Keyed Lock for Security
Many homeowners want the storm door to lock, and most handle sets accommodate a deadbolt or keyed cylinder. A keyed storm door lock lets you leave the main entry door open on a nice day while keeping the storm door secured, which is handy for airflow and light. Keep expectations realistic, though, since the thin aluminum door and lightweight latch offer only modest security compared with your main entry door’s deadbolt.
If you add a lock, choose one keyed to match your existing storm door key if you are replacing a like set, or accept that you will carry a separate key. Wright Products and Andersen both offer handle sets with an integrated deadbolt, which looks cleaner than adding a separate surface-mounted lock below the handle.
Caring for the Handle and Closer Together
The handle and the door closer work as a team, and neglecting the closer shortens the handle’s life. A pneumatic closer that is worn or improperly adjusted lets the door slam or fails to pull it fully shut, which stresses the latch every single cycle. Adjust the closer’s tension screw so the door closes firmly but not violently, and replace a leaking or limp closer promptly.
Twice a year, tighten every screw on the handle plates, hinge, and closer bracket, since the constant open-and-close cycle loosens fasteners over time. A quick maintenance pass keeps the latch aligned and prevents the slow drift that eventually stops a handle from catching.
Choosing Between Repair and Upgrade
When a handle fails, you can either replace it with an identical builder-grade set or upgrade to a nicer one. Upgrading is a low-cost way to improve the look of your entry, since the storm door is the first thing visitors touch. Stepping up from a basic push-button set to a lever handle in oil-rubbed bronze or matte black transforms the curb appeal for around $40.
Confirm the new handle’s hole spacing matches your door before buying, and if you cannot find an exact match, a surface-mount set covers old holes and gives you more flexibility. Measure carefully, pick a finish that complements your entry hardware, and the upgrade is a genuine 30-minute improvement.
Handling a Universal Replacement Set
When you cannot find an exact factory match for your door, a universal storm door handle set is the practical answer. These kits, sold by Wright Products and Prime-Line among others, include multiple spindles and adapter plates designed to fit the range of common hole spacings and door thicknesses. They cover most aluminum and vinyl storm doors on the market.
Read the package to confirm it lists your hole spacing and door thickness before buying, and keep the old handle as a reference. Universal sets sometimes require you to trim the spindle to length or choose between included latch pieces, so read the instructions fully before starting. The tradeoff for their flexibility is a slightly fussier install, but for an odd or discontinued door, a universal set is often the only way to restore a matching, working handle without replacing the entire door.
Replace a failing handle promptly, because a storm door that will not latch bangs in the wind and eventually damages the closer and the door itself. With the right measurements and a screwdriver, new storm door handles restore smooth, secure operation in under an hour.


