Nothing gives a kitchen instant character quite like a well-chosen retro tile treatment behind the counters. A vintage backsplash borrows from the early-to-mid 20th century, when kitchens were finished in glossy subway tile, tiny mosaics, and hand-glazed color, and it brings that warmth and craftsmanship into a modern home. The good news is you don’t need an old house to pull it off; the right tile does all the work.
Part of our Kitchen Remodeling guide — explore the full guide →
This guide covers the most popular vintage styles, the materials behind them, realistic costs, and practical installation tips so your retro look ends up timeless rather than dated.
What Defines a Vintage Backsplash
Vintage style is less about one specific tile and more about a feeling: handmade imperfection, saturated or softly faded color, and classic shapes that have been around for a century. Where a contemporary backsplash chases sleek, uniform, oversized slabs, a vintage one celebrates smaller tiles, visible grout lines, and glazes that vary slightly from piece to piece.
That variation is the secret. A tile with subtle color shifts and a slightly uneven surface catches light the way old glazed tile did, and it reads as authentic rather than mass-produced. Pair it with the right cabinet color and hardware and even a brand-new kitchen feels like it has history.
Classic Subway Tile
The 3 by 6 inch glossy white subway tile is the original vintage backsplash, first used in New York subway stations in the early 1900s. It’s endlessly versatile, affordable, and always in style. For a more authentically old-school look, choose tile with a hand-glazed, slightly wavy surface rather than the perfectly flat modern version.
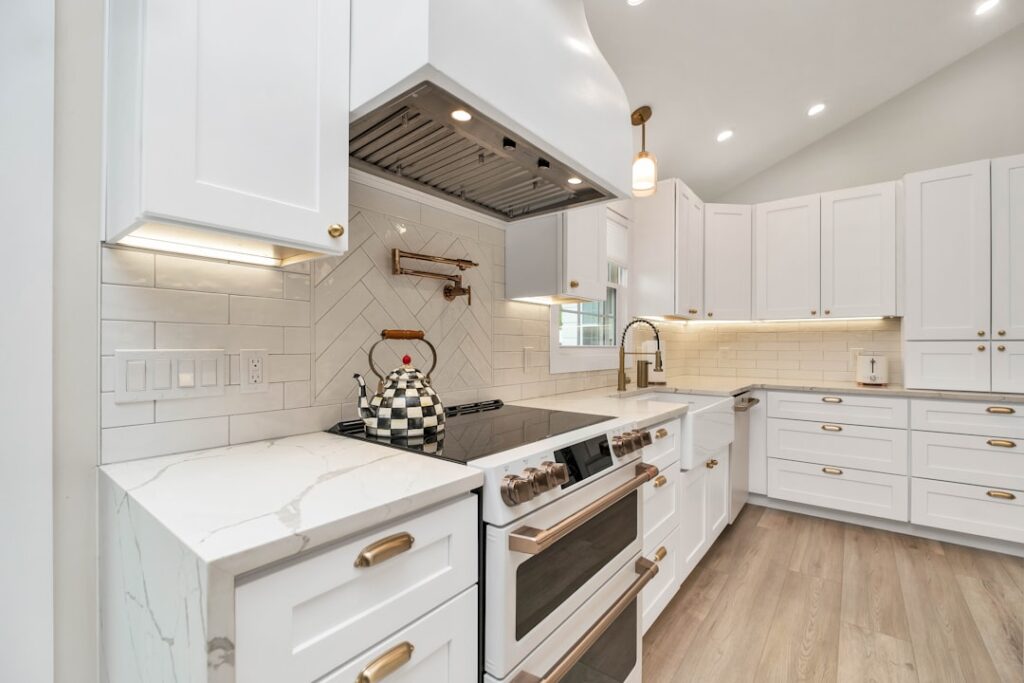
Play with the layout to shift the vibe. A traditional running bond (offset brick pattern) reads classic, while a vertical stack or herringbone feels more designed. Grout color matters enormously: white grout keeps it clean and airy, while a warm gray or almond grout emphasizes each tile and leans older and cozier.
Penny Round and Mosaic Tile
Small mosaics are pure early-1900s charm. Penny rounds, tiny hexagons, and basketweave patterns show up in the bathrooms and kitchens of homes built in the 1910s through 1940s, and they translate beautifully to a backsplash today.
- Penny rounds in white, black, or a soft color deliver a playful, handcrafted texture.
- Hex mosaics, especially white with a black accent border, are a hallmark of the era.
- Basketweave mosaics add pattern without color for a subtle vintage nod.
Because these come mesh-mounted in sheets, they’re more forgiving to install than you’d guess, though all those grout lines mean sealing is important in a kitchen.
Zellige and Handmade Glazed Tile
For a vintage look with serious depth, zellige is hard to beat. These Moroccan tiles are hand-cut and hand-glazed, so no two are identical. The result is a shimmering, watery surface full of tonal variation, pinholes, and gentle waviness that machine-made tile can’t fake. Zellige comes in an enormous color range, from creamy whites to jewel-toned greens and blues.
Keep in mind that zellige’s irregularity means tighter, more finicky installation and more waste, and its glossy glaze shows water spots near a sink. It’s a premium material, but a small run of zellige behind a range makes a stunning focal point.
Patterned and Encaustic-Look Tile
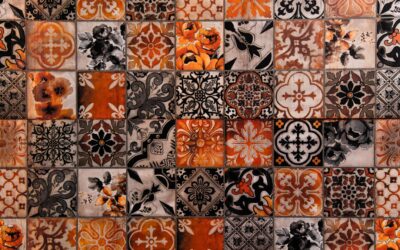
Encaustic cement tiles, with their bold geometric and floral patterns, evoke Victorian and early-century European kitchens. True cement encaustic tile is beautiful but porous and demands sealing and gentle cleaning, which makes it high-maintenance behind a stove. For most homeowners, a porcelain “encaustic-look” tile delivers the same painterly pattern with far less upkeep and better stain resistance.
Use patterned tile with restraint. A patterned backsplash paired with simple counters and cabinets looks intentional; pattern on every surface quickly overwhelms a room. Many homeowners run a bold pattern only behind the range as an accent panel and keep the rest of the wall in plain subway or a solid field tile, which controls both the cost and the visual weight.
Tin Ceiling Tiles as a Backsplash
Pressed tin, the ornate stamped metal that covered Victorian and early-1900s ceilings, makes a striking and unmistakably vintage backsplash. Panels come in decorative repeating patterns and finishes from raw steel and copper to painted white and antiqued bronze. They install as larger sheets, so coverage goes fast, and the raised relief adds real old-world texture.
Metal near a cooktop needs sealing to prevent water spotting and, for real tin, to hold off rust; many homeowners choose faux-tin PVC or coated panels for easier maintenance. Seal the seams and edges well so grease and moisture can’t get behind the panels.
Colors and Materials to Consider
Color choice is what ties the whole look together. Vintage kitchens loved cheerful and softened hues, so consider these directions:
- Warm neutrals: creamy white, almond, and buttery yellow for a farmhouse feel.
- Retro greens and blues: sage, seafoam, and dusty teal, classic 1930s-50s tones.
- Black and white: hex or checkerboard patterns for a bistro look.
- Blush and terracotta for a softer, sun-faded vintage palette.
On materials, glazed ceramic is the workhorse, porcelain is more durable and water-resistant, glass mosaics add sparkle, cement tile brings pattern at the cost of upkeep, and metal delivers texture. Match the material to how hard the wall will work; the zone behind a range takes the most heat, grease, and cleaning.
Pairing the Backsplash With the Rest of the Kitchen
A vintage backsplash rarely stands alone; it works because the surrounding elements support the era. Shaker or inset cabinets, especially in soft white, sage green, or a warm off-white, are natural partners for classic tile. Swap sleek bar pulls for cup pulls, bin latches, or unlacquered brass knobs that develop a living patina, and the whole kitchen shifts backward in time convincingly.
Counters matter too. Honed marble, soapstone, or a simple butcher block read older than a high-gloss engineered slab. Even small touches, a farmhouse apron sink, a bridge faucet, open shelving, or schoolhouse light fixtures, reinforce the vintage story your backsplash starts. The tile sets the tone, but the supporting cast is what sells the look.
Cost and Installation Tips
Budget varies widely by material. Glossy ceramic subway tile is the value pick at roughly $2 to $8 per sq ft for the tile itself. Penny round and mosaic sheets run about $8 to $20 per sq ft. Encaustic-look porcelain lands around $8 to $15, while true cement and handmade zellige can reach $15 to $40+ per sq ft. Professional installation typically adds about $8 to $15 per sq ft in labor.
A few tips make the job go smoothly. Order 10 to 15 percent extra tile for cuts and future repairs, more for herringbone or irregular handmade tile. Start your layout from a center point so cut tiles land symmetrically at the ends, use the right notched trowel and thinset for your tile size, and always seal grout and any porous tile in a kitchen. Take your time on the layout, and your vintage backsplash will look like it has been charming cooks for a hundred years.