White subway tile gets all the attention, but a beige subway tile backsplash delivers the same clean, timeless look with a warmth that white simply cannot match. A well-chosen beige subway tile backsplash hides splatter better, pairs effortlessly with wood cabinets and warm-toned countertops, and softens the whole kitchen without going trendy. This guide covers the shades, grout pairings, layout patterns, and the actual installation steps so you can plan a backsplash that looks custom without a custom price.
Part of our Kitchen Remodeling guide — explore the full guide →
Why Beige Works So Well
Beige sits in the neutral family, so it plays nicely with nearly every cabinet color and countertop. Against white or cream cabinets it adds subtle contrast; against espresso or oak it feels cohesive and grounded. Because beige leans warm, it makes a kitchen feel inviting under both daylight and warm LED bulbs, whereas stark white can read cold or clinical in the wrong light.
Practically speaking, a light beige also disguises the inevitable grease specks and water spots better than bright white, which shows every splash near a range or sink. That makes it a smart pick for the busiest walls in the kitchen.
Choosing the Right Shade of Beige
Beige is a wide family, from nearly white greige to a deeper sandy tan. Bring cabinet doors and a countertop sample home and view tile options against them in your own lighting, morning and evening. A tile that looks perfect under fluorescent store lights can turn pink or gray at home.
Watch the undertone closely. Some beiges lean pink, others yellow, and others gray (often called greige). Match the undertone to your counters and floors. A yellow-beige tile beside a cool gray quartz will clash, while a greige tile bridges warm and cool elements beautifully.
Material Options
Beige subway tile comes in several materials at different price points.
- Ceramic: The most affordable and common, around $2 to $6 per square foot. Easy to cut and plenty durable for a backsplash.
- Porcelain: Denser and slightly pricier at $4 to $10 per square foot, with more consistent color through the body.
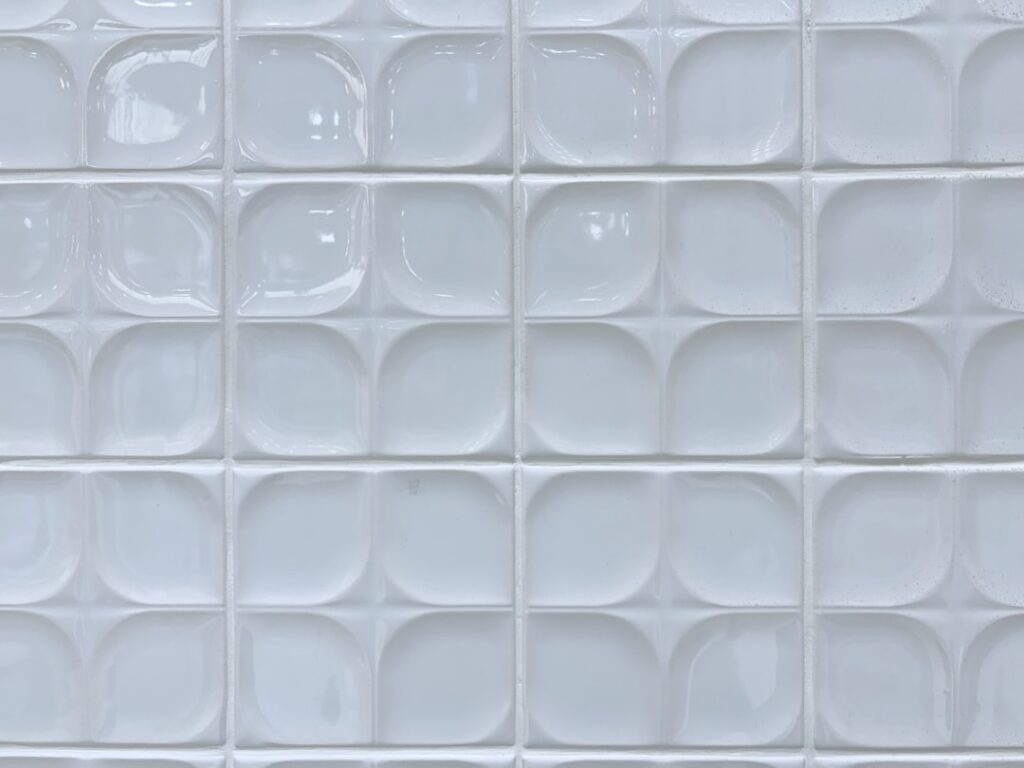
- Glass: Reflective and rich, roughly $8 to $20 per square foot, great for adding depth but trickier to cut.
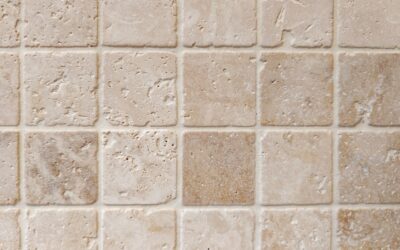
- Natural stone (travertine, marble): Warm and organic at $10 to $30 per square foot, but porous and requiring sealing.
For most kitchens, a ceramic or porcelain 3-by-6-inch tile hits the sweet spot of cost, durability, and the classic subway proportion. Handmade-look ceramic with subtle color variation adds character if you want to avoid a flat, uniform look.
Grout Color Changes Everything
Grout choice can completely transform a beige backsplash. A matching beige or tan grout creates a seamless, monolithic wall that feels calm and expands the space. A slightly darker grout, such as a soft greige or warm gray, defines each tile and highlights the subway pattern without the harsh contrast of black grout.
Avoid bright white grout with beige tile, because it fights the warmth and quickly shows staining near the stove. Whatever you choose, use a quality stain-resistant grout and seal it, or opt for an epoxy or pre-mixed urethane grout that resists grease and never needs sealing.
Layout Patterns to Consider
The classic running bond, with each tile offset by half, is the timeless default and the easiest for beginners. For a more current look, try a one-third offset, which reduces the “smile and frown” lippage that half-offset large tiles can develop. A stacked vertical or horizontal pattern reads modern and makes a small space feel taller or wider.
Herringbone turns the humble subway tile into a statement, though it wastes more tile and takes longer to cut and set. Buy 15 to 20 percent extra for herringbone versus 10 percent for a simple offset, to cover the additional cuts.
Planning and Measuring
Measure the wall area in square feet, height times width, and subtract windows and large openings. Standard backsplash height runs from the countertop up to the underside of the upper cabinets, usually 18 inches. Add 10 to 20 percent for cuts and waste depending on your pattern.
Gather your tools before you start: a tile cutter or wet saw, notched trowel, thin-set or premixed mastic, spacers, a level, a grout float, and sponges. For a small backsplash, premixed mastic in a tub is convenient; for glass or larger areas, a quality thin-set gives a stronger bond.
Installation Step by Step
Start with a clean, dry, and smooth wall. Turn off power and remove outlet covers, and plan to install spacer rings to bring receptacles flush with the new tile surface. Find your center point and dry-lay a row to plan where cuts will fall, keeping full tiles at the most visible areas and cuts in the corners.
Spread adhesive with the notched side of the trowel, working a small section at a time so it does not skin over. Press each tile with a slight twist, using spacers to keep consistent joints, and check with a level frequently. Cut border and outlet tiles as you reach them. Let the adhesive cure per the label, typically 24 hours, before grouting.
Mix grout to a peanut-butter consistency, force it into the joints at a 45-degree angle with the float, and wipe the excess diagonally. After it hazes over, polish the tile with a damp sponge and clean water. Once fully cured, seal the grout if it is not epoxy, and reinstall the outlet covers.
Styling the Finished Backsplash
A beige backsplash is a quiet backdrop, so let the rest of the kitchen sing. Warm brass or matte black hardware pops against it, and open shelving with a few ceramic pieces adds interest. Under-cabinet lighting brings out the subtle texture of a handmade-look tile and eliminates shadows on the work surface.
Trim, Edges, and Transitions
How you finish the edges separates a polished install from a rough one. Where the tile ends at an open edge, such as beside a window or at the end of a run, you have a few options. Bullnose tiles with a rounded finished edge give a soft, traditional look. A metal Schluter-style trim in brushed nickel, brass, or matte black creates a crisp modern border and protects the tile edge from chipping.
Mitered edges, where two tiles meet at a 45-degree cut, produce the cleanest seamless corner but demand precise cutting. For most homeowners, a color-matched metal edge trim is the easiest reliable finish. Plan the top edge too: ending under the upper cabinets hides the transition, while a backsplash that stops mid-wall needs a bullnose or trim cap along the top.
Common Mistakes to Avoid
A handful of errors trip up first-time tilers. Skipping the dry-lay step leads to awkward sliver cuts at the most visible spots; always plan your layout so full tiles land where the eye goes first. Applying too much adhesive at once lets it skin over before you set the tile, weakening the bond. Forgetting outlet spacer rings leaves receptacles recessed behind the new tile surface, a code and safety issue.
Another frequent misstep is grouting before the adhesive fully cures, which can lift tiles or crack joints. Give thin-set the full 24 hours the label specifies. Finally, resist wiping grout haze too aggressively too soon; wait for it to firm up, then polish gently, or you will pull grout back out of the joints and create pinholes that collect grime later.
Final Thoughts
A beige subway tile backsplash is one of the safest yet most rewarding kitchen updates you can make. It brings warmth that white lacks, hides everyday splatter, and coordinates with almost any palette. Nail the undertone, choose your grout deliberately, pick a layout that fits your skill level, and take your time with the install. The result is a warm, timeless wall that will look right long after the latest trends have faded.
Prefer to explore on your own?
See how new flooring looks in your actual room in seconds — free, no signup.
Try the free Floor Studio →