R19 batt insulation is one of the most common fiberglass insulation products in American homes, sized specifically to fill 2×6 framing cavities and deliver a solid thermal barrier in exterior walls, floors over unheated spaces, and certain ceilings. The R-19 rating means the batt resists heat flow at a level of 19, a good middle-ground value that balances performance and cost. If you are insulating a new addition, finishing a basement, or upgrading drafty walls, understanding where R19 belongs and how to install it correctly will help you get the energy savings you are paying for.
What R-19 Means
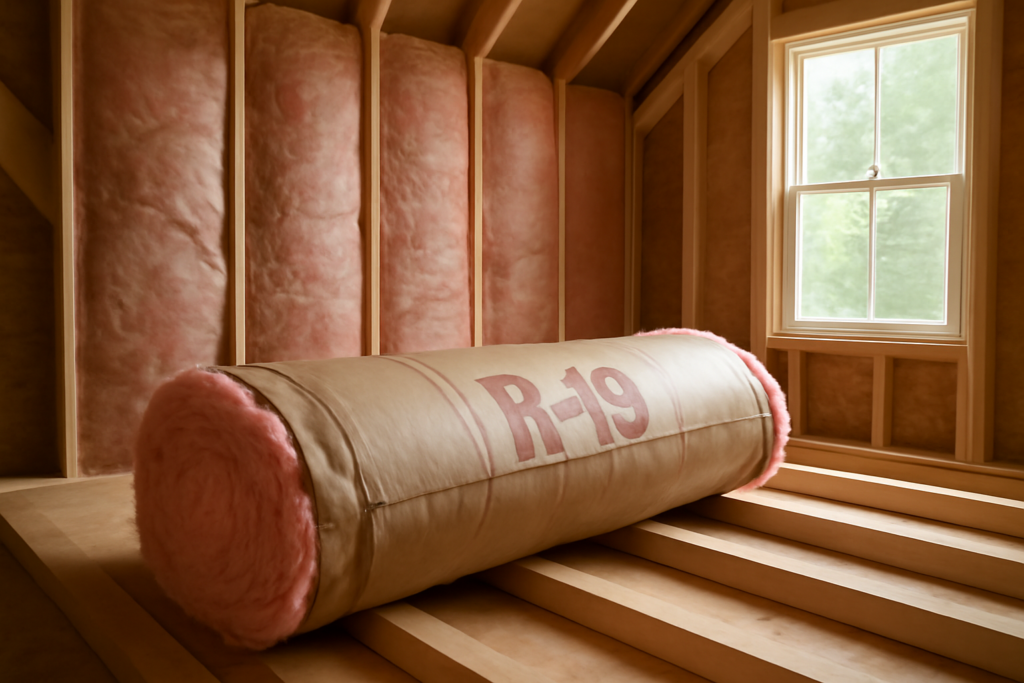
R-value measures resistance to heat flow, and the higher the number, the better the insulation slows heat transfer. R-19 is the rating traditionally associated with a fiberglass batt about 6.25 inches thick, designed to fill the depth of a 2×6 wall stud. That thickness gives enough resistance for exterior walls in most climates while fitting standard framing without compression. It sits between R-13, made for 2×4 walls, and higher values like R-30 and R-38 used in attics and cathedral ceilings. Choosing R-19 is really about matching the batt to your framing depth.
Where R19 Batts Belong
R19 is the workhorse for several specific applications.
- 2×6 exterior walls: The classic use. R-19 fills a 5.5-inch-deep 2×6 cavity and meets or approaches wall code in many climate zones.
- Floors over crawl spaces or garages: Installed between floor joists to keep floors warm over unconditioned space below.
- Basement rim joists and band areas: Though foam is often preferred here, batts are sometimes used.
- Some cathedral ceilings and additions where framing depth suits R-19, though attics generally need higher R-values.
For attic floors and most ceilings, R-19 is usually inadequate by today’s standards, which call for R-49 to R-60. Do not use R-19 where a much higher value is recommended just because it is on hand.
Faced vs Unfaced
R19 batts come faced with a kraft-paper or foil vapor retarder, or unfaced. The facing does two jobs: it slows moisture from passing through the assembly and it provides a stapling flange for installation. As a general rule, install faced batts with the paper toward the heated living space, so in a cold climate the facing goes toward the interior. Use unfaced batts when you are adding a second layer over existing insulation, since a second vapor barrier trapped in the middle of an assembly can cause condensation. Building codes and climate dictate vapor-retarder placement, so check local requirements, especially in mixed and hot-humid climates where the rules differ.
The Right Way to Install Batts
Fiberglass batts are cheap and easy, but sloppy installation destroys their performance. The insulation industry grades installation quality, and gaps, compression, and voids can cut effective R-value dramatically.
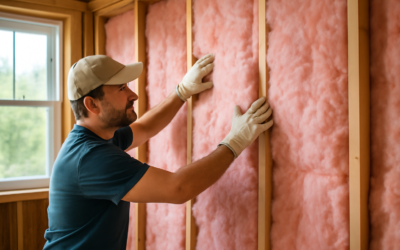
- Cut each batt to length so it fills the cavity fully from top to bottom without being crammed or left short.
- Fit the batt gently into the full depth of the cavity so it is neither compressed nor bulging past the studs. Compressing an R-19 batt into a shallower space lowers its actual R-value.
- Split the batt around wiring and pipes, tucking half behind and half in front rather than stuffing it over the top, which leaves a cold void behind the wire.
- Carefully cut around electrical boxes so the batt fits snugly around them with no gaps.
- For faced batts, staple the flanges to the face or inside of the studs per the manufacturer’s guidance, keeping the paper flat and continuous.
Cost per Square Foot
R19 batt insulation is inexpensive. Material costs run roughly $0.50 to $1.20 per square foot depending on brand, facing, and whether you buy rolls or pre-cut batts. A typical bag covers a set square footage clearly marked on the packaging. Professional installation adds about $0.50 to $1.50 per square foot in labor. Because batts are so DIY-friendly, many homeowners install R-19 themselves and save the labor entirely, needing only a utility knife, a straightedge, a staple gun, and proper safety gear.
Safety Precautions
Fiberglass irritates skin, eyes, and lungs. Always wear a long-sleeve shirt, gloves, safety glasses, and an N95 or better respirator when handling batts. Work in a ventilated area and avoid rubbing your skin, which drives fibers in. Keep faced batts away from open flame and heat sources, since the kraft paper is flammable and should never be left exposed in living spaces; it must be covered by drywall or another approved finish. Never use faced batts in contact with recessed lights or flues unless rated for it.
Common Mistakes
The most damaging error is compressing R-19 into a 2×4 wall to save money; a compressed R-19 batt performs worse than a properly sized R-13 or R-15 and wastes the extra material. Others include leaving gaps at the top and bottom of cavities, stuffing insulation behind wiring instead of splitting it, installing the vapor facing on the wrong side for the climate, and adding a second faced layer that traps moisture. Each of these quietly robs you of the R-value you paid for, so careful, complete installation matters far more than the number on the package.
When to Consider Alternatives
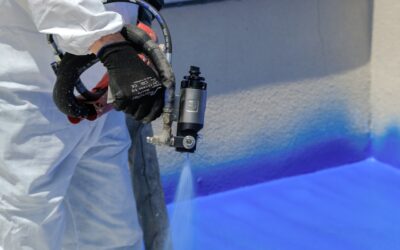
R-19 fiberglass is a proven value, but alternatives suit some jobs better. High-density R-21 or R-23 batts fit the same 2×6 cavity and squeeze more performance from the depth. Blown cellulose or fiberglass fills irregular cavities and attics more completely. Spray foam air-seals and insulates in one step where framing is complex or air leakage is a big concern. For a straightforward 2×6 wall or a floor over a crawl space, though, well-installed R-19 batts remain a reliable, affordable, and effective choice.
R-19 and Building Codes
Building codes set minimum insulation levels by climate zone, and R-19 fits into that framework in specific ways. For decades, R-19 was the standard prescriptive value for 2×6 wood-framed walls, and it still meets or approaches wall requirements in many climate zones. However, energy codes have tightened, and some colder zones now call for higher wall values like R-20 or R-21 cavity insulation, sometimes combined with continuous exterior foam. For floors over unconditioned space, R-19 often satisfies code in milder zones while colder regions require R-30. Always check your local adopted energy code before choosing an R-value, since inspectors verify insulation against the code in force, and undersizing means a failed inspection and rework.
Combining R-19 With Air Sealing
Fiberglass batts slow heat conduction but do almost nothing to stop air leakage, which is a major source of energy loss and drafts. To get the full benefit of R-19, pair it with air sealing. Before insulating a wall, caulk or foam the gaps around electrical boxes, wire and pipe penetrations, and the seams where the framing meets the sheathing and top and bottom plates. In a floor over a crawl space, seal the rim joist area, which is a notorious leak point, ideally with rigid foam or spray foam. Batts do their job best inside an assembly that is already reasonably airtight; without air sealing, air moving through and around the fibers carries away much of the heat the R-19 is supposed to hold.
Storing and Handling Batts
Getting the most from your material starts before installation. Keep batts dry, since wet fiberglass loses much of its insulating value and can promote mold if installed damp; store them indoors or under cover and never install insulation into a wall that is not dry. The batts are compressed in their packaging and loft up, or expand, after you open them, so let them recover their full thickness before fitting, and do not re-compress them into the cavity. A sharp utility knife and a straightedge or a scrap of lumber as a guide make clean, accurate cuts far easier than tearing, and clean cuts mean tighter fits with fewer gaps, which directly protects the R-value you paid for.
R19 batt insulation earns its place as the standard fill for 2×6 walls and floors, offering dependable energy savings at a low cost when installed with care. Match the batt to your framing depth, place any vapor facing correctly for your climate, and fit each piece snugly with no gaps or compression. Do the installation right, wear proper protection, and your R-19 will deliver the comfort and lower energy bills it was designed to provide for the life of the home.