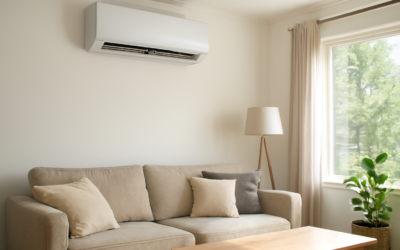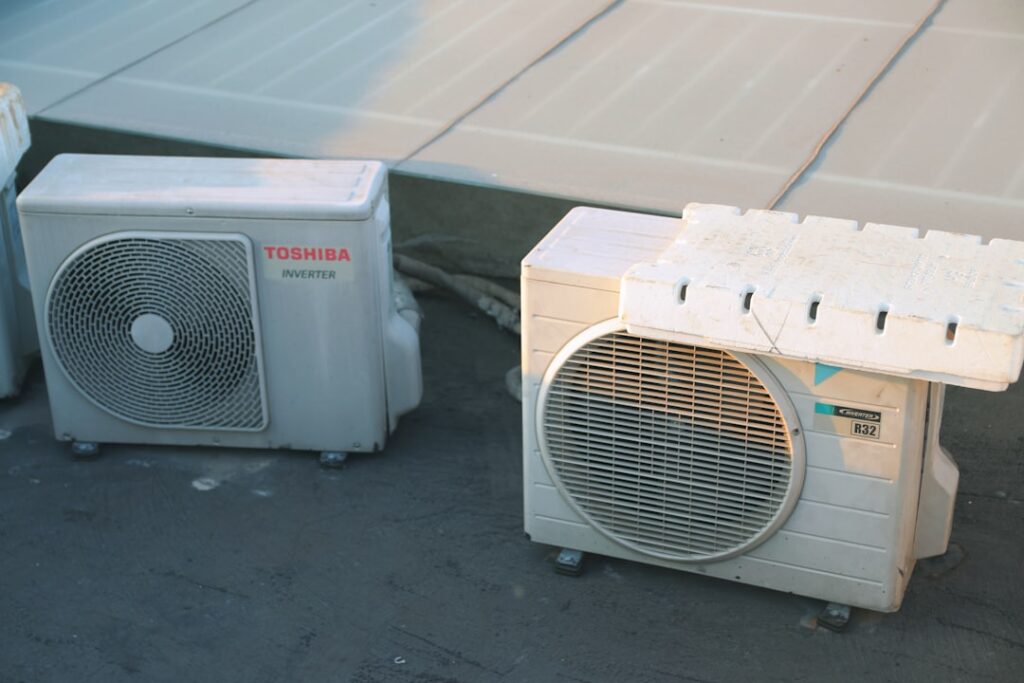
When a homeowner asks me to heat and cool a room with no existing ductwork, a ductless system is almost always the answer, and an Everwell mini split is one of the budget-friendly brands that comes up in that conversation. It is a ductless inverter heat pump that both heats and cools, mounted as a wall head connected to an outdoor condenser by a slim line set.
An Everwell mini split targets buyers who want reliable comfort without the premium price of a Mitsubishi or Daikin. I have put these in garages, sunrooms, and finished attics. Here is how to size one correctly, what it costs, and where the tradeoffs live.
What a Mini Split Actually Is
A mini split has two parts. Outside sits a condenser with the compressor. Inside, one or more air handlers, called heads, mount on the wall and blow conditioned air directly into the room. A three-inch hole through the wall carries the refrigerant lines, a condensate drain, and control wiring. No ducts, no soffits, no losing 20 percent of your air to leaky ductwork.
Because these use inverter-driven compressors, they ramp up and down instead of slamming on and off like an old central unit. That variable speed is what makes them quiet, efficient, and good at holding a steady temperature within a degree or two.
BTU Sizing: Get This Right First
Sizing is the number-one mistake DIY buyers make. Too small and it runs flat-out and never catches up in a heat wave. Too big and it short-cycles, never dehumidifies properly, and leaves the room clammy. Everwell mini split systems come in the standard capacity tiers:
- 9,000 BTU: 350 to 450 sq ft, good for a bedroom or small office.
- 12,000 BTU (1 ton): 450 to 550 sq ft, a living room or large bedroom.
- 18,000 BTU (1.5 ton): 700 to 1,000 sq ft, an open kitchen-living area.
- 24,000 BTU (2 ton): 1,000 to 1,400 sq ft, a large great room or small addition.
- 36,000 BTU (3 ton): 1,400 to 1,800 sq ft, or a multi-zone setup feeding several heads.
Those ranges assume decent insulation. A sun-blasted room with big west windows, a vaulted ceiling, or a poorly insulated garage needs a step up. When in doubt, run a Manual J load calculation rather than guessing from square footage alone. I would rather bump a client from 12k to 18k than get a callback in July.
SEER Ratings and Efficiency
SEER measures cooling efficiency, and HSPF measures heating efficiency. Everwell units typically land in the 16 to 19 SEER2 range depending on model and capacity. That is solidly efficient, easily beating any window unit and most older central systems, though the premium brands push into the low-to-mid 20s.
For most homeowners, a 17 to 19 SEER2 Everwell hits the sweet spot: efficient enough to keep power bills reasonable, priced far below the ultra-high-SEER flagships. If your electric rates are brutal or you run the system year-round in a hot climate, the extra efficiency of a premium unit might pay back. In a spare room used seasonally, it will not.
What It Costs
Here is where the value shows. Equipment pricing runs roughly:
- 9k single zone: $700 to $1,000 for the equipment.
- 12k single zone: $900 to $1,300.
- 18k single zone: $1,200 to $1,700.
- 24k to 36k multi-zone: $1,800 to $3,000 for the equipment.
Professional installation adds $1,000 to $2,500 depending on line-set length, electrical work, and how far the condenser sits from the head. All-in, a professionally installed single-zone Everwell mini split commonly runs $2,500 to $4,500. A comparable Mitsubishi install often costs 30 to 50 percent more.
DIY vs Professional Install
Some Everwell and similar-tier systems ship with precharged line sets and quick-connect fittings aimed at DIYers. If yours is a standard flare-fitting system, though, installation legally and practically requires a licensed HVAC tech, because charging refrigerant demands EPA 608 certification, a vacuum pump, and a micron gauge.
- Mount the indoor head on a level bracket, high on the wall with clearance above and to the sides.
- Set the outdoor condenser on a pad or wall bracket, level and clear of debris.
- Run and flare the line set, then pull a deep vacuum to remove moisture and non-condensables.
- Release the factory charge, wire the control cable, and commission the unit.
My honest take: unless you have a true precharged DIY kit and real comfort with the work, hire a pro. A bad flare or a skipped vacuum causes leaks and premature compressor failure, and that erases every dollar you saved.
Warranty, Reliability, and What to Expect
Budget brands typically carry shorter or more conditional warranties than the majors, often in the range of one to five years on parts and five to seven years on the compressor, and coverage frequently depends on professional installation and registration. Read the fine print before you buy, and register the unit the day it is commissioned.
Reliability on an Everwell mini split is generally solid for the price, but understand you are buying value, not the 12-year bulletproof reputation of a top-tier Japanese brand. Keep the filters clean, rinse the outdoor coil each spring, and clear the condensate line, and one of these will run comfort into a room for years at a fraction of the flagship cost.
So is it the right choice for you? Choose an Everwell mini split when budget matters, when the space is seasonal or secondary, or when you want to add comfort to one problem room without touching your central system. Spend up for a premium brand instead if the unit is your home’s primary heat source in a cold climate, if you need the longest warranty, or if ultra-low winter performance is non-negotiable. For a garage gym, a bonus room, or a new addition, this class of ductless unit is one of the best comfort dollars you can spend.
Single-Zone vs Multi-Zone
One decision trips up a lot of buyers: one head or several. A single-zone system pairs one outdoor condenser with one indoor head, and it is the simplest, cheapest, most efficient setup. A multi-zone system runs two to five heads off one larger outdoor unit, letting you condition several rooms independently from a single compressor.
Multi-zone sounds efficient, but there is a catch. If you buy a 36,000 BTU multi-zone condenser and connect four small heads, the oversized compressor short-cycles when only one room calls for cooling, which hurts efficiency and comfort. My rule of thumb: use multi-zone only when the rooms genuinely need separate control and you cannot run a single head to cover an open floor plan. For one open great room, a single larger head almost always beats splitting the load.
Every mini split heats as well as cools, but heating capacity fades as the outdoor temperature drops. A budget-tier unit like an Everwell typically holds strong output down to around 5 to 14 degrees Fahrenheit, then loses capacity fast below that. In Georgia or Texas, that is a non-issue. In Minnesota or Maine, you either need a true hyper-heat cold-climate model or a backup heat source for the coldest nights.
If this unit is a supplement to existing central heat, the temperature floor rarely matters because the furnace covers the deep cold. If it is the only heat in a converted garage or a northern cabin, size up and confirm the low-temperature heating rating before you buy, not after the first cold snap.
Cold-Climate Heating and Maintenance
Ductless systems are low-maintenance, not no-maintenance. A little seasonal attention keeps efficiency high and prevents the two most expensive failures, a fouled coil and a plugged drain.
- Rinse or vacuum the washable indoor filters every month during heavy use.
- Hose down the outdoor condenser coil each spring to clear pollen, dust, and cottonwood fluff.
- Flush the condensate drain line so it does not clog and back water into the head.
- Keep two feet of clearance around the outdoor unit for airflow.
- Have a tech check the refrigerant charge every couple of years; low charge quietly wrecks efficiency and can burn out the compressor.
Skip the filter cleaning and you will feel it fast: weak airflow, longer run times, and a musty smell blowing into the room. Ten minutes a month prevents all of it.